Help and Advice, How To, Laminate Worktops
Laminate Worktop Installation Guide
A Step-By-Step Guide to Laminate Worktop Installation
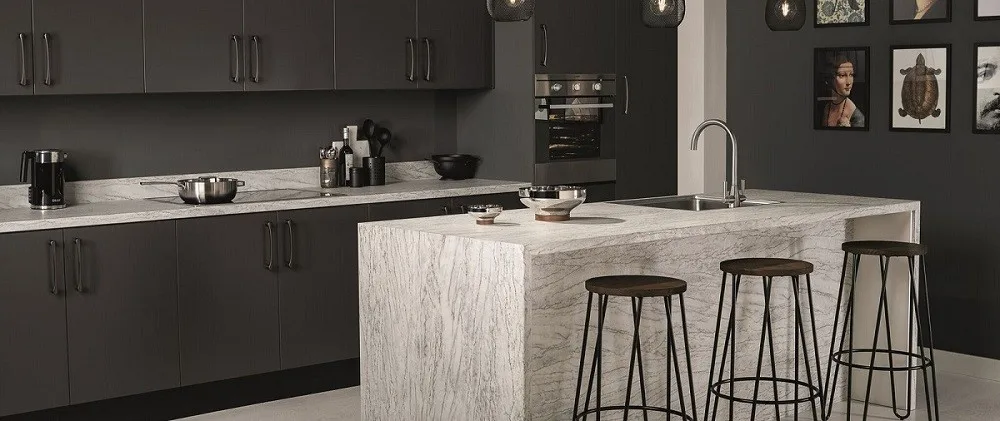
Combining affordability with style, durability and low maintenance requirements, laminate worktops are some of the most in-demand worktops for a wide range of kitchens and bathrooms. Laminate worktops overall are a more cost-effective option than stone and wood alternatives, while keeping the same durability and aesthetic value, while also being a more low maintenance option than alternative worktops.
However, even with this low maintenance, it is still crucial that proper installation of the worktop is achieved, to ensure that future issues do not occur. This guide will walk through step by step the process of installing a laminate worktop, starting with storage and ending with aftercare tips going forward, while along the way answering any frequently asked questions that are asked at each step.
Step 1: Storing your Laminate Worktop in Preparation for Installation
Storing your laminate worktop to ensure it is in pristine condition for installation is essential to the long-term health of your worktop, preventing any potential warping or damage. To avoid this damage there are three simple rules you can follow:
- Keep your worktop flat: Having your worktop on a flat, stable surface is crucial to avoid dents or slight bends in your worktop that can cause issues with installation. While also making sure to avoid putting it against walls or uneven surfaces.
- Avoid moisture-heavy areas: Keep your laminate worktop in a dry area that rarely gets humid, this means avoiding outdoor spaces and basements as they tend to collect moisture quickly.
- Avoid rooms with direct sunlight: Direct sunlight can cause discolouration or warping in the worktop. So storing it in a shaded area would be recommended.
Also, if you are not installing your worktop immediately, we would recommend covering it with a protective sheet, to stop any dust build-up or accidental scratches that may occur.
So, to summarise, ensure your laminate worktop is flat and on an even surface, avoid moisture-heavy areas like basements to stop water seeping into the worktop and avoid direct sunlight to stop discolouration and warping.
Step 2: Preparing your Laminate Worktop for Installation
Preparation is always key when successfully doing anything and this is no different to installing a laminate worktop. To achieve this ensuring you have the correct is vital.
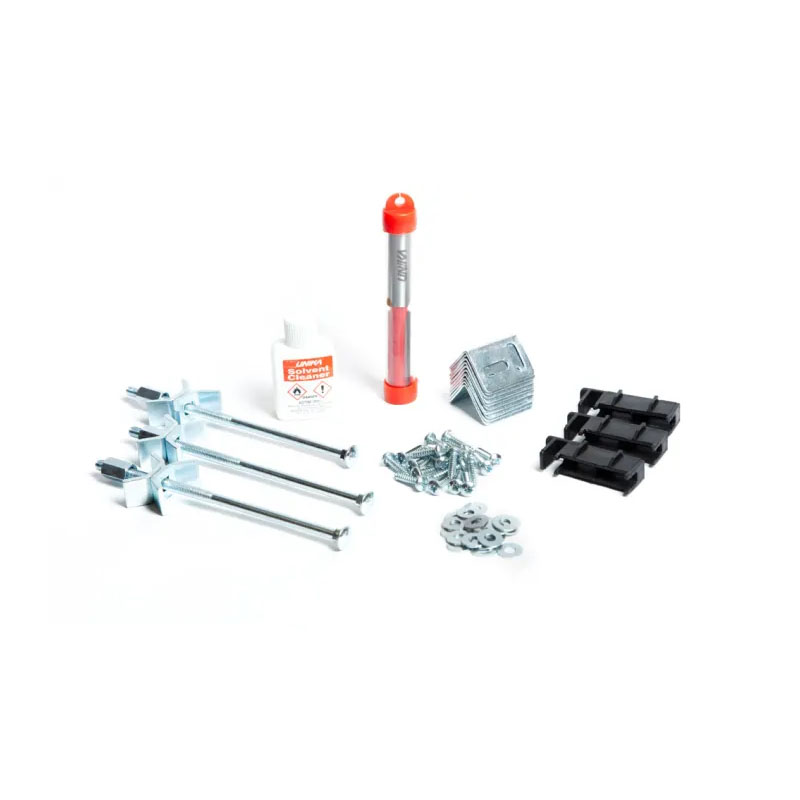
The tools and materials you will need for installation are:
- A Jigsaw
- A Drill and screws
- Adhesive
- Clamps
- Measuring tape
- A Spirit level
- Joining strips (if needed)
Key Preparation Steps:
- Measure the workspace: This would involve measuring the dimensions of the base cabinets alongside the width of the worktop you have to ensure that you have a correct fit. Accurate measurements are critical for this.
- Certify the base cabinets are even using a spirit level. This is because uneven cabinets can lead to an unstable worktop, so make any necessary adjustments.
- Plan the layout: If you’re working with more than one worktop piece, carefully plan the layout to ensure the joints align properly. This includes allowing for any cut-outs for sinks or hobs.
Tip to keep in mind: Measure twice to avoid costly mistakes later. Verify there is enough space for the worktop to sit flush against the walls or backsplash.
Step 3: Establish Precautions for Installation to Avoid Common Pitfalls.
During installation, there are a few common mistakes to avoid to guarantee your worktop fits perfectly and stays in great condition:
- Expansion gaps: Always leave a small expansion gap (around 2-3mm) between the worktop and walls or cabinets. Laminate can expand and contract slightly due to temperature changes, and failing to allow for this can cause warping.
- Support overhangs: If your worktop extends beyond the base cabinets (e.g., breakfast bars), add brackets or other supports to prevent sagging over time.
- Check for defects: Before installing, inspect the worktop for any damage or manufacturing defects. It’s easier to handle replacements or repairs before installation begins.
Be aware: When drilling or cutting, always double-check your measurements. Misaligned cuts or poorly planned expansion gaps can lead to costly fixes.
Step 4: Fixing your Worktop Properly
Once your workspace has been fully inspected and you know all the measurements, it is time to fix your laminate worktop to the cabinets. To help this do keep in mind these 3 parts:
- Pilot Holes for your Worktop: Pilot holes help give you a guideline to where you want your screws to go, so pre-drilling your worktop and cabinets can help with an overall smoother process.
- Selecting the correct screws: Choosing the wrong screw can lead to having to redo the installation or in worse case scenarios needing a new worktop entirely. So check that your screws are correct for your worktop’s thickness and confirm that the screws are not over-tightened as this can damage the laminate surface.
- Using a suitable adhesive: Similarly, the ideal adhesive should be used to avoid any troubles later, and an even application needs to be done, to avoid gaps or bubbles under the surface that could cause issues after the installation.
- Using Clamps: Sometimes clamps can be seen as risky as overtightening like with the screws can cause damage. However, they are essential for holding the worktop in place while fixing it to your cabinets to prevent potential shifting. Making clamps near-essential for accurate fixing.
Step 5: Having a Clean and Precise Fit using Cutting and Routing
One of the most delicate parts when installing your laminate worktop is the cutting and routing process, as there is a risk if done improperly chipping can occur. To avoid this there are a few steps you can take:
- Make use of Masking Tape: Masking tape can be placed along the cutting line to help minimise chipping when using a jigsaw or circular saw as it can be used as a guiding line during that process.
- Cut on the underside of the worktop: This helps reduce the risk of chipping the visible side, so if chipping does occur it is only for the underside of the worktop.
- Route your edges: Essential for sinks and hobs, you can use a route to create precise cutouts. However, always measure carefully and always be on the side of caution.
One rule to keep in mind is that if you cut too small you can always be corrected by cutting more off until you cut off your selected amount, so if you are cautious also undershoot.
Tip: A fine-toothed blade is ideal when cutting laminate, as it delivers cleaner cuts and causes less chipping overall.
Step 6: Making Seamless Worktop Joints
When installing multiple sections of a laminate worktop, creating seamless joints is key to a professional finish. A few common techniques you can use are:
- Butt joints: Simply join the edges of two worktop pieces. Use clamps and joining strips to ensure a tight, even fit.
- Mitre joints: Used primarily for corner installations, these joints need to be cut at a 45-degree angle to guarantee a clean finish.
- Joining strips: If you are erring on the side of caution having some joining strips can help tremendously as they can be used to mask any gaps that may occur and provide some additional strength to the joint.
Tip for Joints: If you have more than one worktop, align the worktops with one another and use some joint adhesive to stop water from seeping into the seams and causing issues later on.
Step 7: The Final Touches
Once the worktop is in place, finalise the installation with these steps:
- Apply edging strips: If the worktop edges are exposed, use laminate edging strips to seal them. Apply heat with an iron to activate the adhesive backing for a perfect bond.
- Seal edges: Pay special attention to edges around sinks and hobs. Make sure to use a waterproof sealant to prevent any potential water damage.
- Clean the Worktop: Tidy up any excess adhesive that is about and make sure the clean the surface of the worktop thoroughly.
With that, you have completed your laminate worktop installation, but now the main question becomes have to take care of it so it looks as good as new for as long as possible.
Aftercare: How to Keep Your Laminate Worktop Pristine
Knowing how to clean and maintain your laminate worktop is key to helping keep it looking pristine for years to come. To help this here are a few tips for the aftercare of your worktop:
- Clean it Regularly: Use a soft cloth and mild washing up liquid/detergent and wipe down your worktop daily, making sure to avoid harsh chemicals that can damage the surface.
- Avoid Direct Heat: Laminate worktops may be heat-resistant but are not heatproof, so making sure not to place hot objects directly on the worktop is crucial. The use of trivets or heat pads can help prevent any potential burning.
- Protect your Worktop from Sharp Objects: This can be achieved using a cutting board to stop knives or other sharp objects from scratching your worktop.
- Dealing with minor damage: If minor damage does occur you can use a repair kit to touch up the surface and get rid of minor scratches or burns,
Tip: Remember to reseal any edges that are near sinks or hobs from now and again to keep them watertight and protected from water damage.
FAQs
- Can I cut laminate worktops myself, or should I hire a professional?
As explained in this guide you can easily cut laminate worktops yourself as long as you have the correct tools and equipment. However, hiring a professional is best if you are still not confident and want to guarantee a flawless finish.
- Can I prevent water damage to my laminate worktop?
This is done through using primarily a waterproof sealant around cut-outs like sinks and applying edging strips. To prevent water damage in the future checking the sealant and edging strips for wear and tear is necessary and then replacing them when damaged.
- How much heat can laminate worktops handle?
Laminate worktops are heat-resistant so can deal with some level of heat but are not heatproof. So high-temperature items like pots and pans straight off the oven would still cause damage.
We hope this guide has been helpful to you and showed you how simple it truly can be to install a laminate worktop. Combined with the aftercare tips your freshly installed laminate worktop will stay durable and stylish for years to come.

