Help and Advice, How To, Laminate Worktops
Compact Laminate Worktop Installation Guide
Compact laminate worktops are a popular choice for modern kitchens due to their durability, sleek appearance, and low maintenance. With the right installation techniques, these surfaces can provide long-lasting beauty and functionality in your kitchen. This guide will walk you through each step of the installation process, covering everything from storage and preparation to cutting, joining, and aftercare, to help ensure your installation is successful.
Why Choose Compact Laminate Worktops?
Compact laminate worktops offer several benefits:
– Durability: Resistant to scratches, heat, and impact.
– Water Resistance: Ideal for kitchens and bathrooms where moisture exposure is high.
– Versatile Designs: Available in various finishes, from matte to gloss, and a range of colours.
Proper installation is essential to fully benefit from these features, as it ensures a seamless, professional finish and maintains the worktop’s structural integrity.
Storage Tips for Compact Laminate Worktops
Proper storage of your compact laminate worktop before installation is crucial to prevent warping or bending.
– Store Flat: Lay the worktop flat on a stable, level surface. Do not lean it against walls, as this may cause bending.
– Avoid Direct Sunlight: Store the worktop in a shaded area to prevent heat-induced warping.
– Keep Dry: Moisture can damage the worktop edges or core, so store it in a dry, well-ventilated area away from damp surfaces.
Pro Tip: If storing multiple worktops, place soft spacers between them to prevent scratching or surface damage.
Preparation for Installation
A well-prepared workspace and the right tools make all the difference.
Essential Tools and Materials:
– Circular Saw or Jigsaw with high-quality blades designed for compact laminate
– Drill and specialized drill bits for compact laminates
– Routing tools for precise edge work and cutouts
– Safety equipment: Safety goggles, dust masks, and gloves
Preparatory Steps:
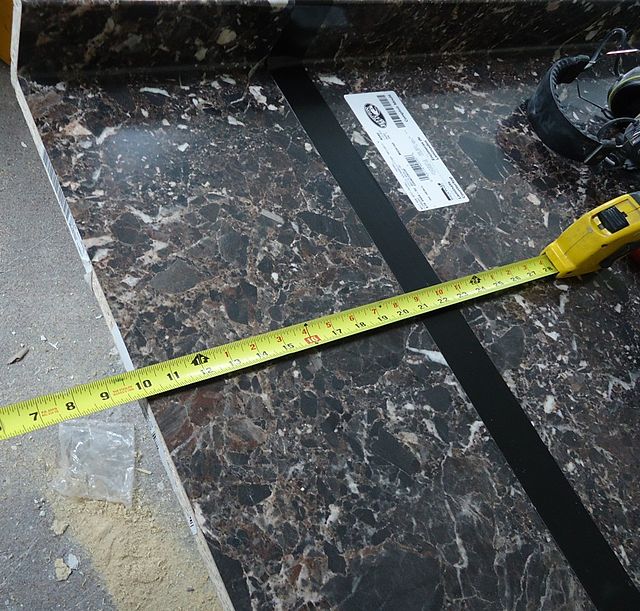
- Measure Carefully: Accurate measurements ensure a snug fit, so double-check all workspace dimensions.
- Level Base Cabinets: Uneven cabinets can cause the worktop to shift or crack over time.
- Plan for Cutouts: Mark and measure areas for sinks, hobs, or fixtures, leaving enough space for safe cutting.
Pro Tip: Measure twice, and cut once. Precision is crucial with compact laminate, as mistakes are hard to correct.
Installation Precautions
Compact laminate worktops require careful handling to prevent damage.
– Handle Carefully: Lift from both ends to avoid stress fractures. Avoid placing the worktop on sharp or uneven surfaces.
– Leave an Expansion Gap: Compact laminates expand slightly with temperature changes. Allow a 2-3 mm expansion gap around the edges.
– Inspect for Defects: Check for cracks, chips, or flaws before installation. If any defects are found, contact the supplier immediately.
Pro Tip: Common mistakes include skipping the expansion gap, leading to cracking over time. Always ensure your worktop can adjust to slight temperature changes.
Fixing the Worktop
Secure attachment to the base cabinets is essential for a stable installation.
– Use Suitable Adhesives and Fasteners: High-quality adhesive or construction-grade sealants are recommended for compact laminates. Use brackets or clips to secure the underside.
– Additional Support for Overhangs: Overhangs or sections that span appliances need reinforcement with extra brackets or batons to prevent sagging.
Pro Tip: Avoid using nails or screws on the top surface, as this can damage the laminate and compromise its appearance.
Cutting and Routing
Accurate cutting and routing are vital for a smooth, professional finish.
- Use Sharp Blades: High-quality, fine-tooth blades reduce the risk of chipping. A circular saw or jigsaw with carbide-tipped blades is recommended.
- Route for Clean Edges: Routing tools create smooth, precise edges, essential for cutouts and joins. Keep your routing depth consistent.
- Finish Edges: Sealing exposed edges prevents moisture ingress, which can lead to swelling or warping.
Pro Tip: Always cut with the decorative side facing up when using a jigsaw to minimize chipping on visible surfaces.
Joining Worktop Sections
Creating smooth, seamless joins enhances the aesthetic appeal of your worktop.
– Use a Waterproof Adhesive: Apply a thin layer of waterproof adhesive or jointing compound to bond sections.
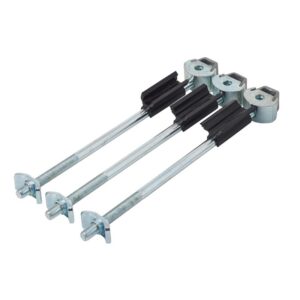
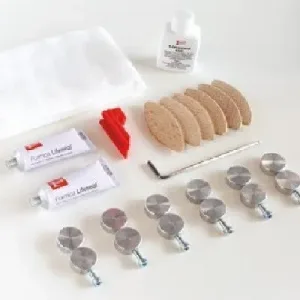
– Tighten Joints Carefully: Use clamps or biscuits to align edges and ensure a tight, flush join. Wipe away excess adhesive immediately.
– Avoid over-tightening: Over-tightening can cause edges to buckle or crack.
Pro Tip: Silicone sealants provide additional waterproofing along joints, making them more resilient to spills or moisture.
Finishing the Worktop
Applying a final finish helps protect the worktop and adds a polished look.
- Edge Banding: Apply edge banding to exposed edges for a seamless look and additional protection.
- Remove Residues: Use a gentle cleaner or rubbing alcohol to remove adhesive residues or fingerprints.
- Sealing Edges: A protective sealant around edges, especially near sinks or hobs, prevents moisture damage.
Pro Tip: Avoid harsh chemicals during the cleaning process to preserve the worktop’s surface.
Aftercare Tips
Maintaining your compact laminate worktop ensures it stays beautiful and functional.
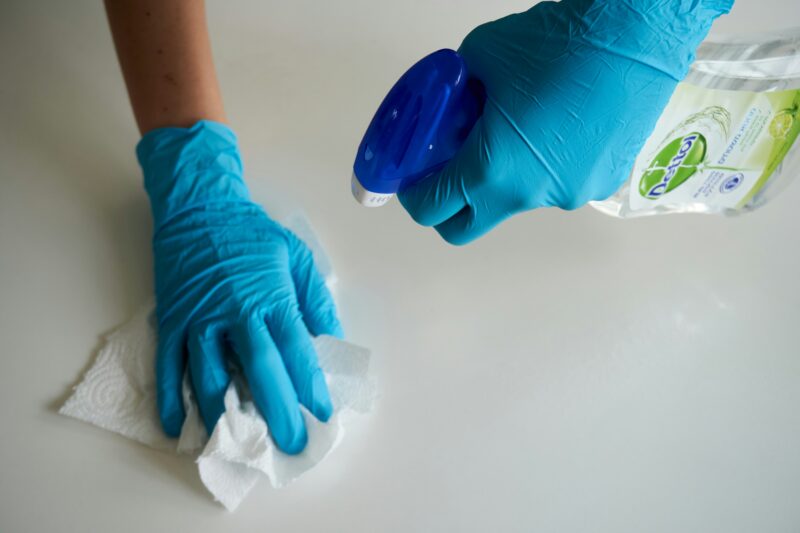
– Regular Cleaning: Use mild soap and water with a soft cloth. Avoid abrasive sponges or harsh cleaners.
– Heat Protection: Although compact laminate is heat-resistant, place trivets or mats under hot pots to prevent thermal damage.
– Scratch Repair: Minor scratches can be polished out with a soft cloth and a recommended laminate polish.
Pro Tip: Avoid direct exposure to strong sunlight, as it may cause slight fading over time.
FAQs
Q: Can compact laminate worktops be cut on-site?
A: Yes, with the right tools, you can make precise cuts on-site. A circular saw with a fine-tooth blade or a jigsaw works best.
Q: What should I do if the edges chip during installation?
A: Chipped edges can be touched up with laminate repair kits available at most hardware & DIY shops.
Q: Is an expansion gap necessary for compact laminate worktops?
A: Yes, leaving a small expansion gap allows the worktop to adjust to temperature changes, preventing cracks.
Q: How should I protect my worktop from scratches?
A: Avoid using sharp objects directly on the surface. Always use a cutting board, and polish minor scratches with a soft cloth and laminate-friendly polish.
Get in Touch
Need some guidance on installation, or advice on how to maintain your worktop? Get in touch with us today. If you’re not sure which worktop would suit your space best, browse our range of worktops, which are available in a huge range of finishes and styles.

