Picking a kitchen worktop isn’t just about colour or veining. It’s about how the surface will survive real life, scratches, hot pans, spilt coffee, and the occasional dropped knife. Marble and granite are both popular choices, but they aren’t interchangeable. Each has quirks, strengths, and weaknesses. Appearance: What You See Matters Marble is often […]
Kitchen Worktop brands
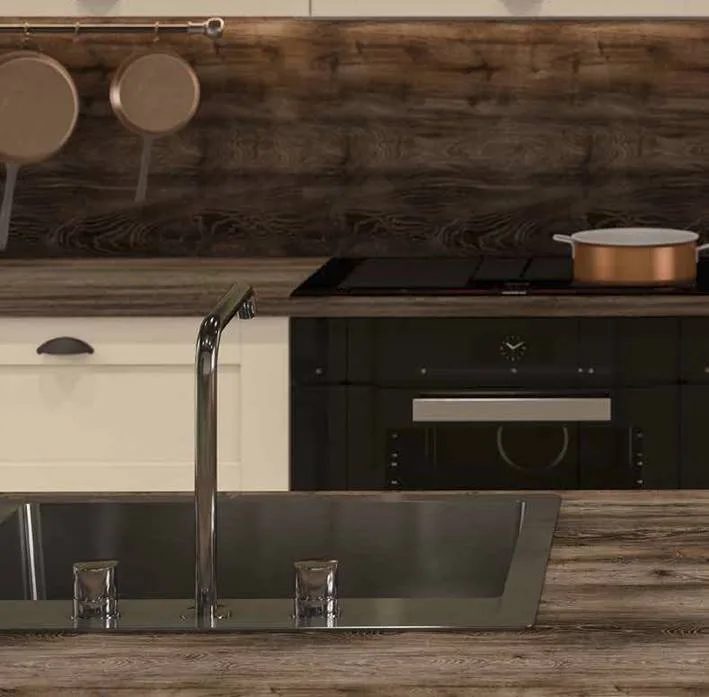
LAMINATE WORKTOPS
Laminate worktops are the most cost effective and practical kitchen surface to buy online today.
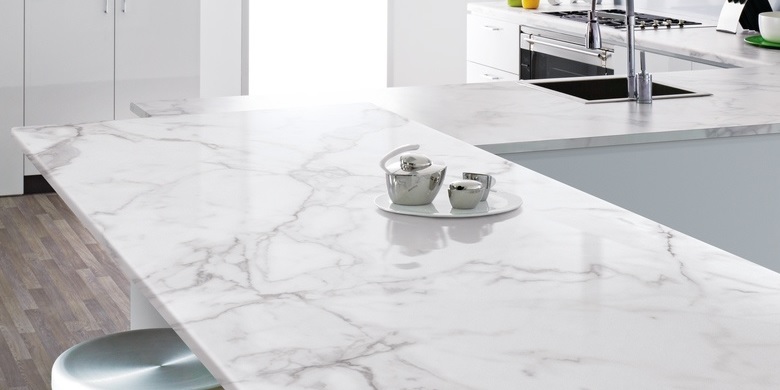
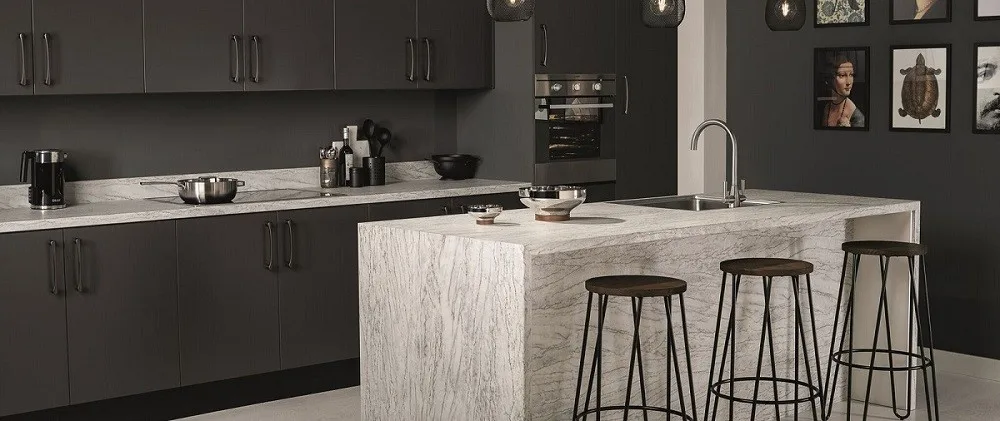
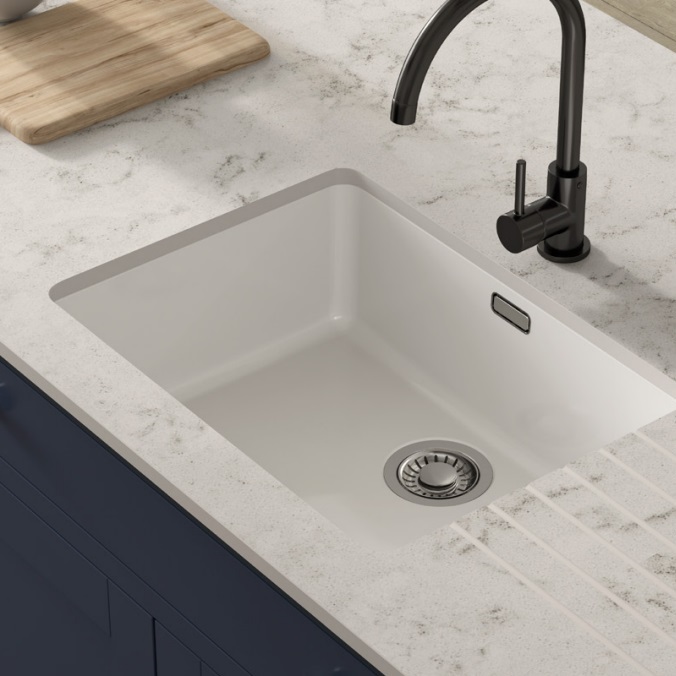
SOLID COMPACT WORKTOPS
Compact worktops have a solid core giving it strength, they are also 100% waterproof.
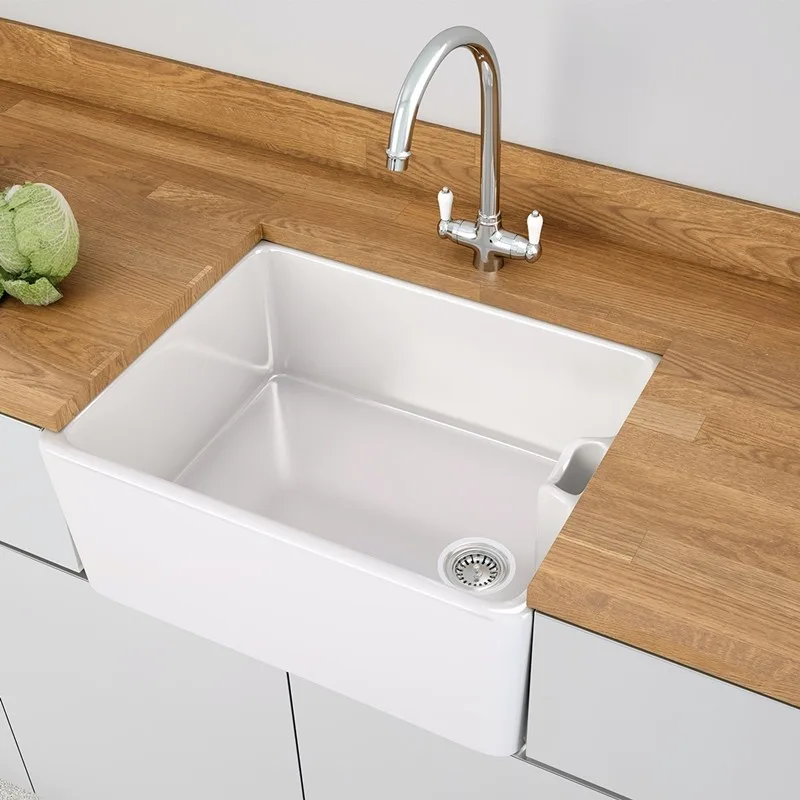
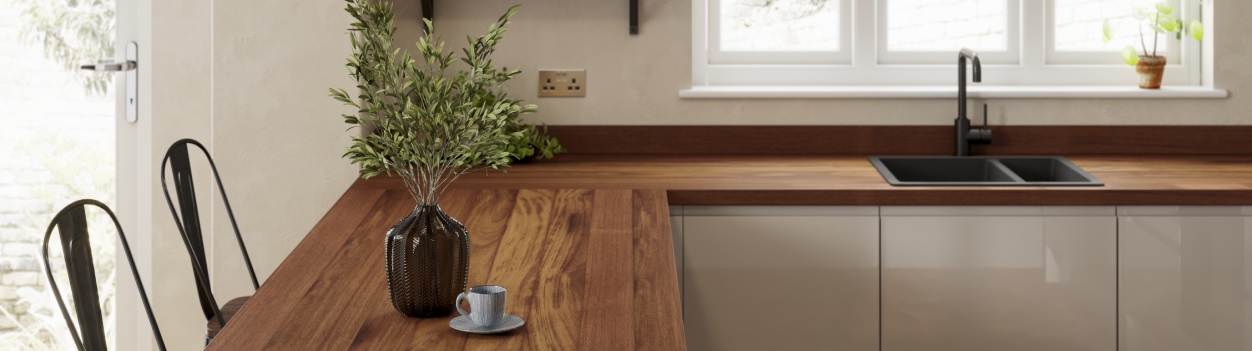
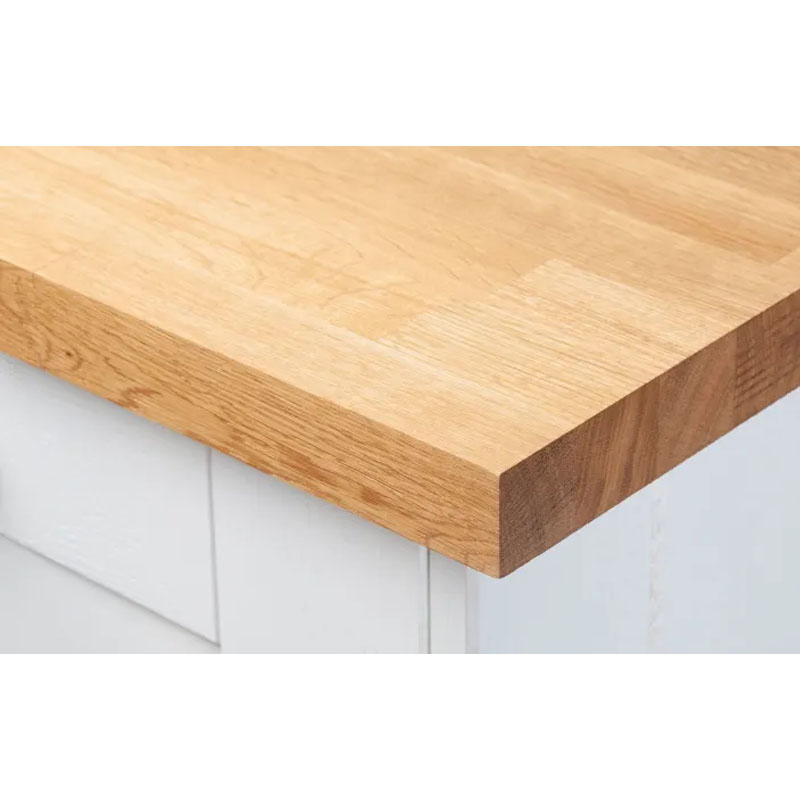
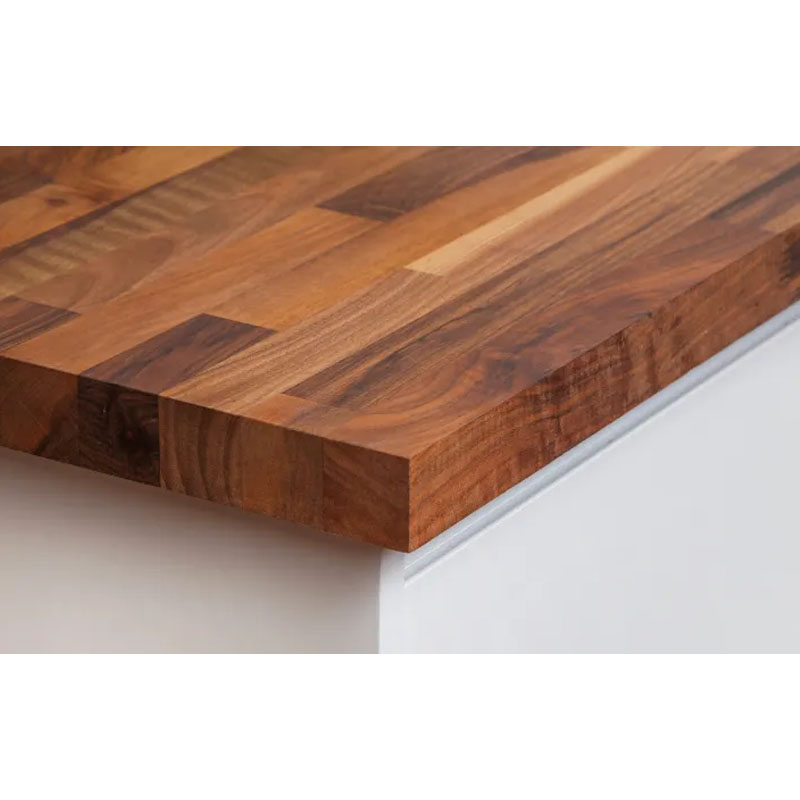
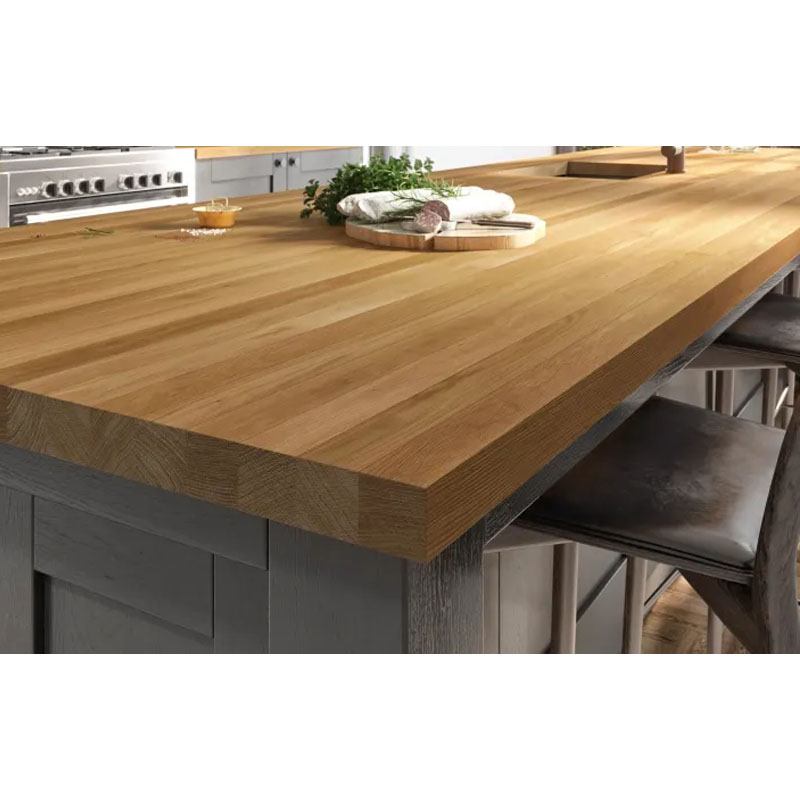
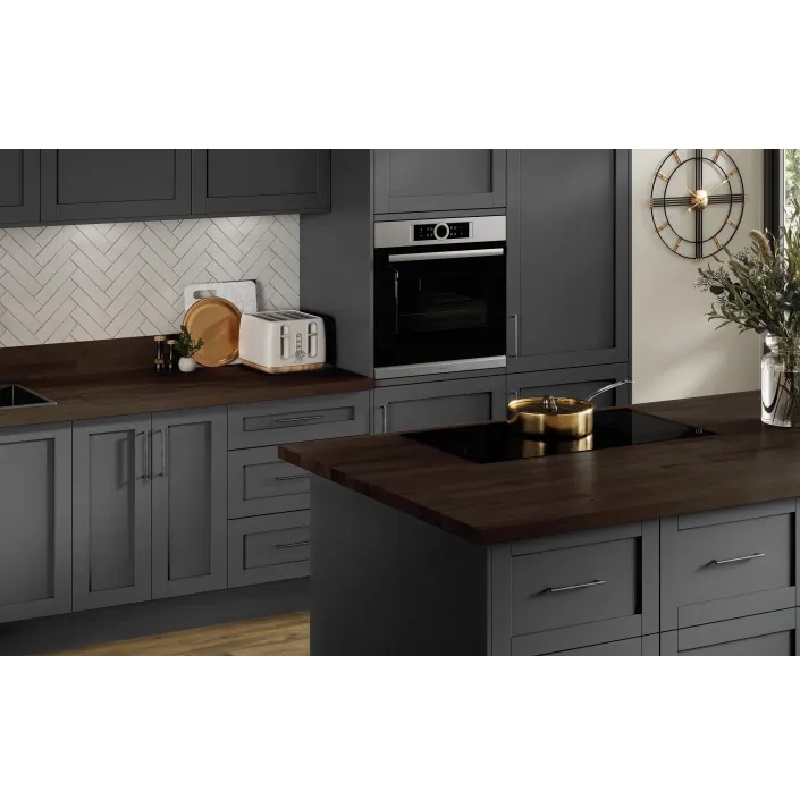
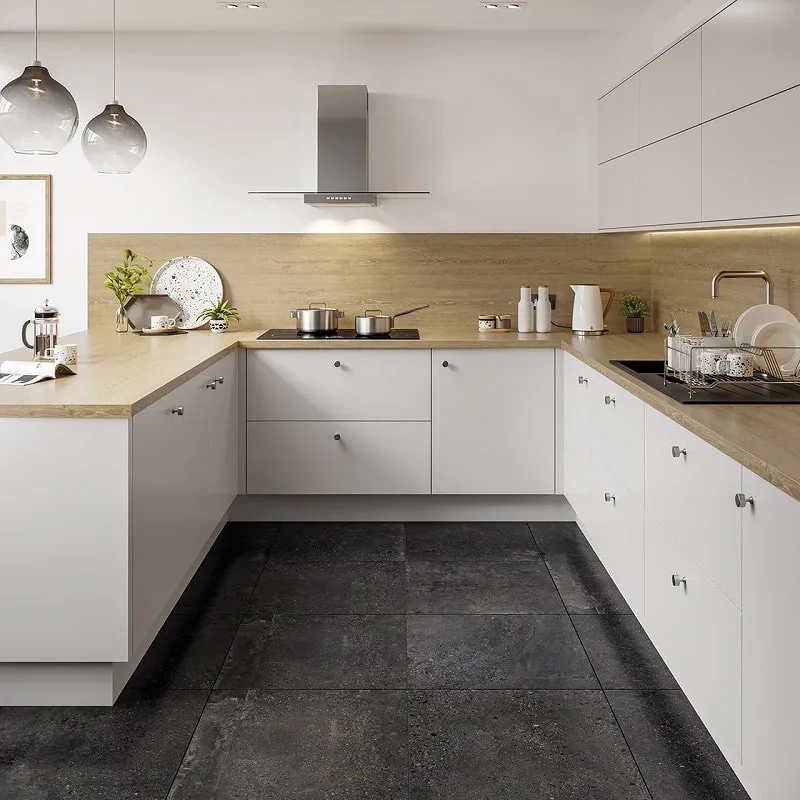
SOLID WOOD WORKTOPS
Wood worktops are timeless natural beautiful wooden surfaces which gives warmth and charm.